
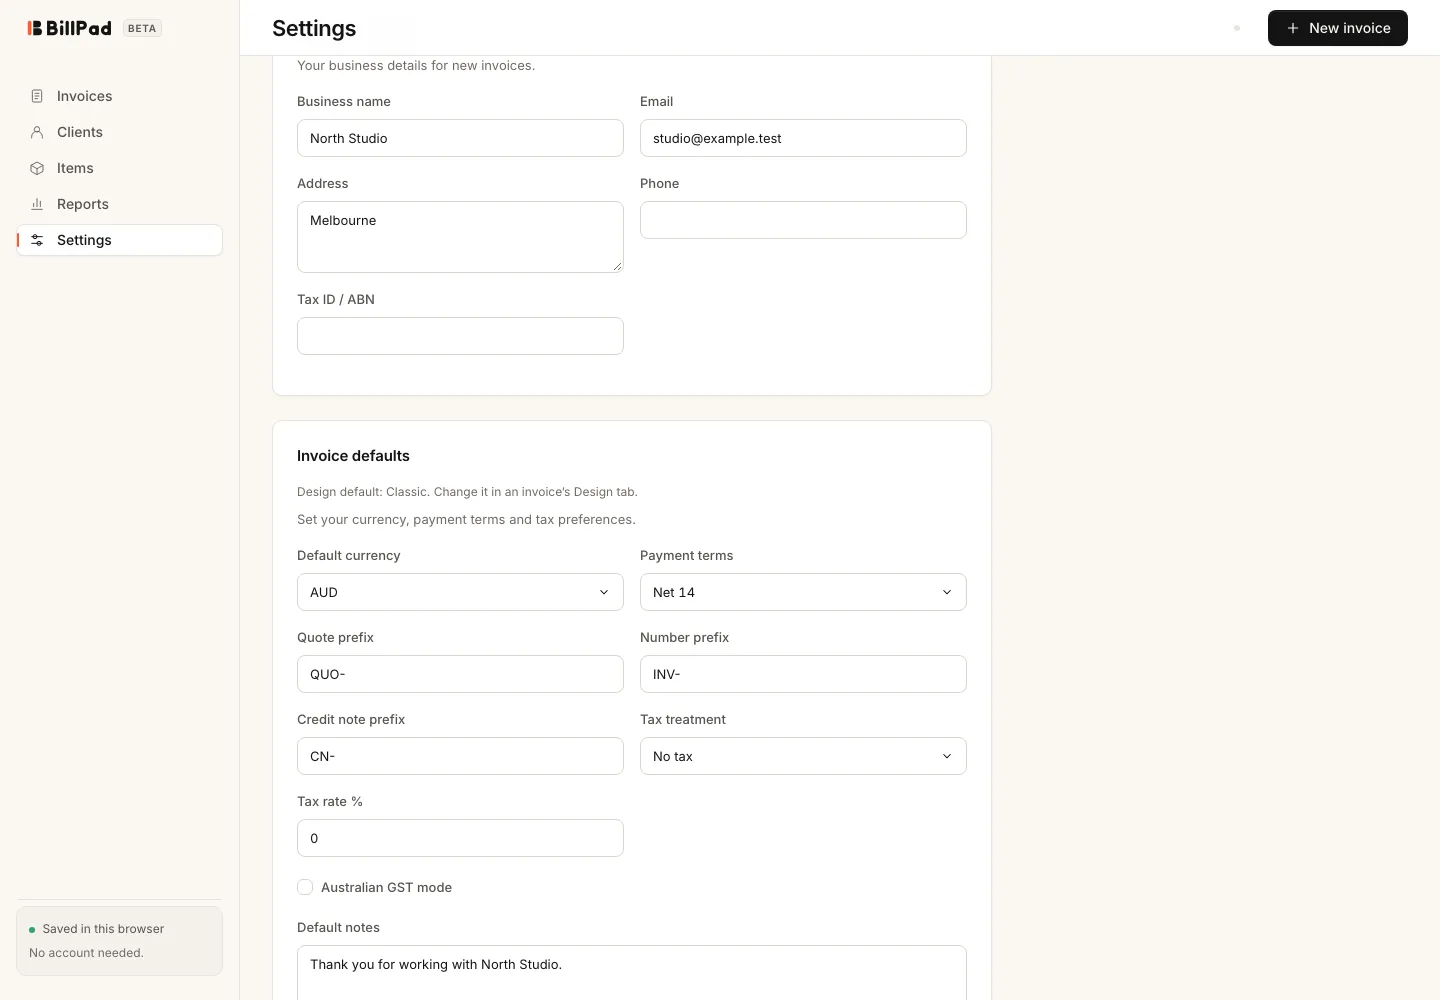
Your business profile supplies details for new invoices. Set it up before creating a document so your client can see who is billing them and how to contact you. Existing invoices contain their own business details; changing a default is not a reliable way to correct every older document.
Save your business profile
- Open Settings and find Business profile.
- Enter Business name, Email, Address, Phone and Tax ID / ABN as appropriate for your business.
- Under Invoice defaults, review Default currency, Payment terms, Default notes and Default payment details.
- Choose Save settings.
- Create a new invoice and check From: and the preview before sending it.
For an individual document, expand From: in the editor to review its seller details. This is useful when correcting a draft created before you updated your profile. A business name is required before sending an invoice through BillPad.
Add your logo
- Open an invoice and select Design.
- Under Logo, choose Upload logo.
- Select a PNG, JPEG, SVG or WebP file up to 5 MB.
- Check the preview, then adjust Logo position to Left, Right or Centre if needed.
- Use Set as default for new invoices to keep the selected design for future documents. Remove clears the logo selection.
Good to know
The uploaded image is processed for use in invoices; keep your original artwork separately. If a file cannot be read, try exporting a simple PNG or JPEG and uploading that copy. Always inspect a downloaded PDF as well as the preview when you change branding.
Your logo is part of your business presentation, while bank details belong in Default payment details or the invoice's How to pay field. Keeping those details as text makes them easier to review and correct before sending.